
Here goes....
Oh, and if you look really close on the pictures, you'll notice multiple score marks. Ignore those. These were the papers I used to figure out all the measurements:)
{Lollipop Box Tutorial}

Supplies:
Paper Cutter with Scoring Blade
4 sheets of Cardstock
Decorative Paper
Transparency Sheet
Adhesive of your choice
Lollipops
**Cut your cardstock and transparency sheet to the following measurements:
*2- 7 1/2" x 7 1/4" cardstock (top)
*1- 8 7/8" x 5 7/8" cardstock (bottom)
*1- 8 3/8" x 5 3/8" cardstock (insert)
*1- 4 1/4" x 3 1/8" transparency sheet (for window)
1. Grab your 2 top pieces (7 1/2" x 7 1/4") and score 1 1/2" on 3 sides. Cut the top squares out of one sheet (this will be the front), and cut along the score line, stopping at the corner, on the 2 top corner squares of the other sheet (this will be the back).

*line up the 7 1/2" side along the bottom of your cutting tool. Line up the edge of paper at 2 1/8". Lift up blade and insert it at 2 1/2". Cut up to 5 1/8".
*turn paper so the top of box is at the bottom of cutting tool. line up edge of paper at 2 1/8". Insert blade in at 2 1/8" and cut to 4 6/8".
*Sides: line up edge of paper at 2 1/2". Insert blade at 2 1/8" and cut to 5 3/8". Do the same for the other side. You should now have a perfect square cut out of the middle. (**if this is too confusing, just cut out a square using whatever method works best for you! Mine has a 5/8" border on 3 sides, and the bottom 'border' should measure 2 5/8".)
2. Adhere the 4 1/4" x 3 1/8" transparency sheet to the inside of the window.
3. Cut a piece of decorative paper approx. 4" x 4 1/2". Adhere it to the inside of the back piece (this will show through the 'window').
4. Fold both front and back pieces along score lines. Adhere the front piece to the back piece.
It'll end up looking like this:
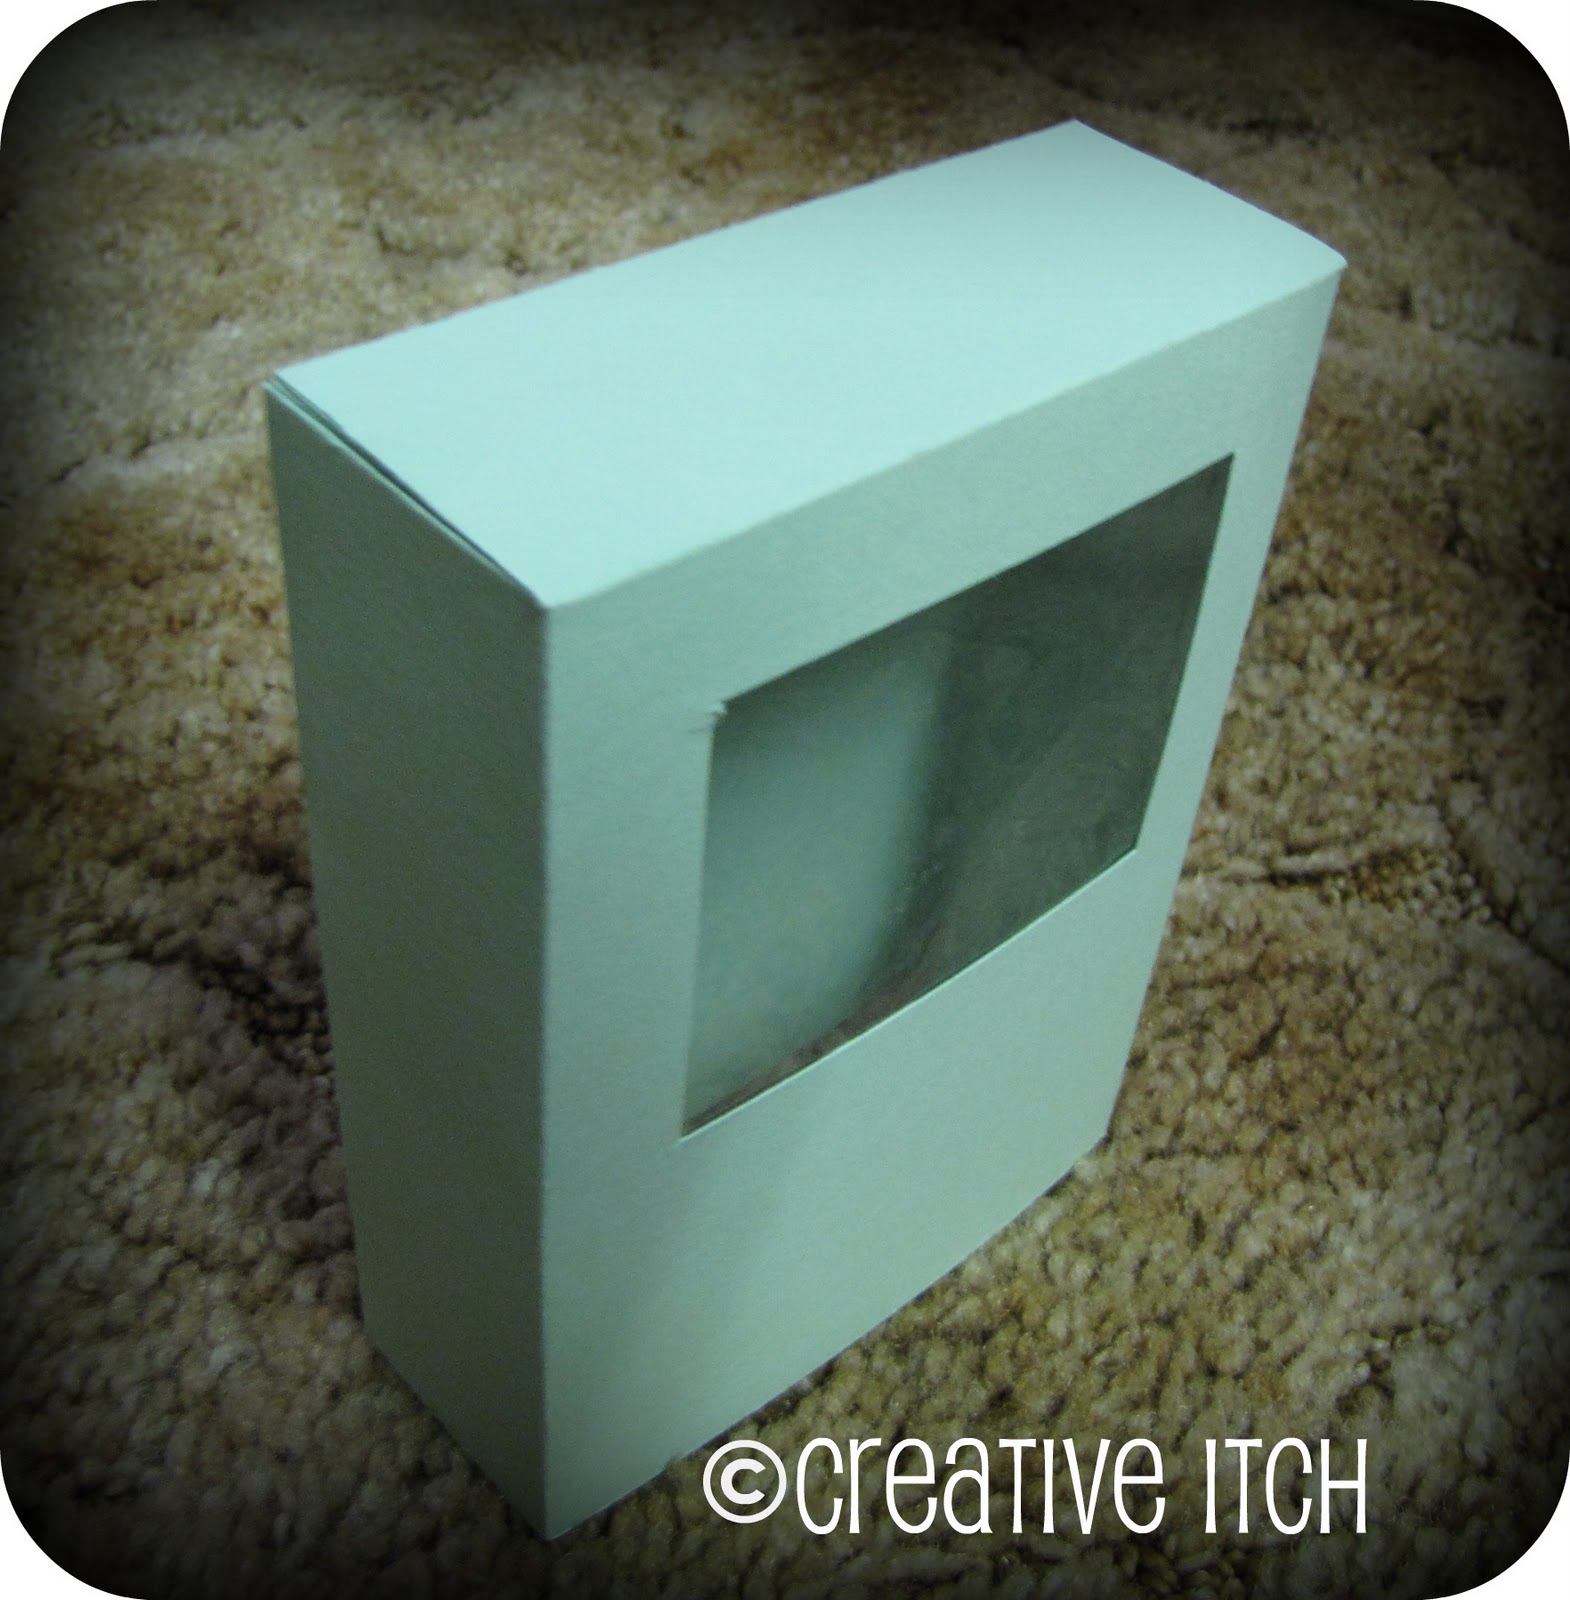
This picture is just to show the decorative paper in the 'window'.

5. Now we're going to work on the 'bottom' piece (8 7/8" x 5 7/8"). Score at 2 1/8" on all 4 sides. Cut along score marks on all 4 corners as shown in photo. Fold along score lines and adhere the sides together.

Here's what it will look like when you're done.

6. Now for the insert (8 3/8" x 3 1/8"). Score at 2" on all 4 sides. Cut out the squares on all 4 corners. Fold on score lines. This piece will just drop into the bottom of the box.
**Decide where you want your lollipops to go (I had enough room for 4 lollipops), and mark with a pencil. Take an X-Acto knife and cut either a slit or an 'x' in each spot. Place your lollipops in the insert and slide the insert into the bottom of the box.
7. Decorate your box and lollipops as desired!

I hope this tutorial makes sense! If anything is unclear, please email me and I'll try to give a better explanation! And be sure to email me pictures of your completed boxes....or if you share them on your blog, email me the link!

I'm linking to these fabulous parties:
Craftify It Thursday @Life with the Lebedas
2 comments:
This is awesome! I'm totally going to have to try it out. What a lot of work getting all those measurements figured out. I'm a wing it by the seat of my pants kind of girl, so I totally get the tutorial angst! Thanks for taking the time to work it all out- now I just get the fun of putting it together ;)
Stresses me out too! Excellent job!
Post a Comment